The Art of Food Photography: Techniques for Capturing Culinary Creations in Stunning Detail
Food photography is a unique art form that requires a combination of technical skill, creativity, and attention to detail. Whether you’re an aspiring food blogger, a professional chef looking to showcase your culinary creations, or simply a food enthusiast who loves capturing delicious dishes on camera, mastering the art of food photography can take your photos to the next level. In this comprehensive guide, we will explore the essential techniques and tips for capturing stunning food photos that will make your audience’s mouths water.
Understanding Lighting
Lighting is one of the most important aspects of food photography. Good lighting can make the difference between a lackluster photo and a mouth-watering masterpiece. Natural light is often the best choice for food photography, as it creates a soft, flattering glow that brings out the colors and textures of the food. When shooting indoors, place your subject near a window or use artificial lighting sources like softboxes or diffusers to create a similar effect. Avoid harsh overhead lighting or direct sunlight, as they can create unflattering shadows and highlights.
Composition and Styling
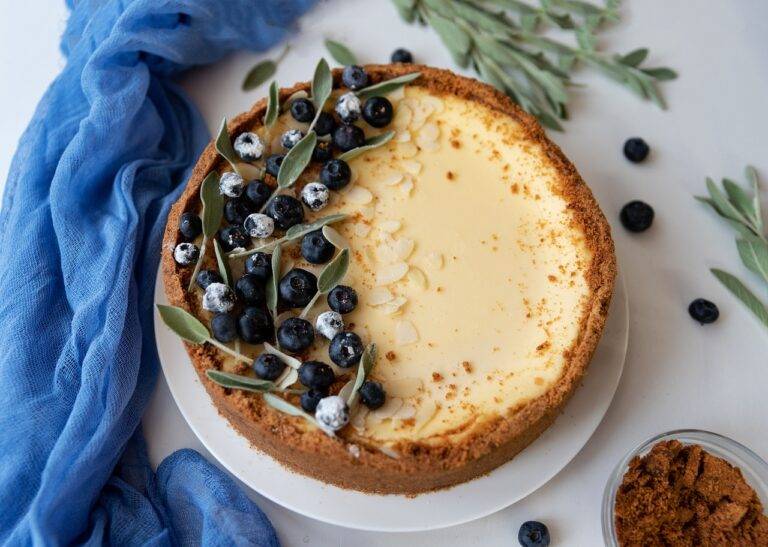
Composition and styling play a crucial role in food photography. Experiment with different angles, perspectives, and compositions to find the most visually appealing way to capture your dish. Consider the placement of props, utensils, and garnishes to add interest and balance to your composition. Pay attention to textures, colors, and shapes to create a visually stimulating image that draws the viewer in.
Focus and Depth of Field
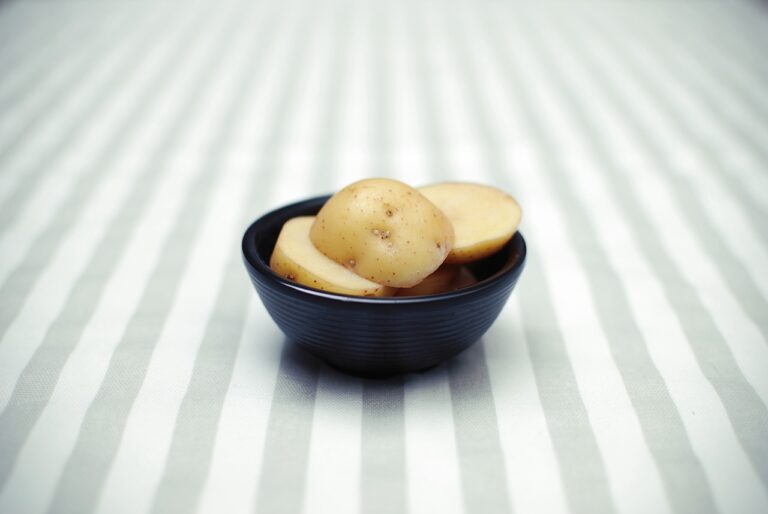
One of the key techniques in food photography is mastering focus and depth of field. Use a wide aperture (low f-stop number) to create a shallow depth of field, blurring the background and drawing attention to the main subject. Experiment with different focal points to highlight specific details or features of the dish. Use manual focus for more control over the focus area and ensure that your subject is sharp and in focus.
White Balance and Color Temperature
White balance and color temperature are important factors in food photography that can greatly impact the overall look and feel of your images. Pay attention to the color of the light source and adjust the white balance settings on your camera accordingly. Use a gray card or white balance tool to ensure accurate colors in your photos. Experiment with different color temperatures to create a warm, inviting atmosphere or a cool, refreshing look.
Props and Backgrounds
Props and backgrounds can add depth and context to your food photos. Choose props that complement the style and theme of your dish, such as rustic wooden boards, vintage utensils, or colorful napkins. Consider using textured surfaces like marble, wood, or fabric as backgrounds to add visual interest and contrast to your photos. Keep the focus on the food by using props sparingly and strategically.
Editing and Post-Processing
Post-processing is an essential step in food photography that can help enhance the overall look and feel of your images. Use editing tools like Adobe Lightroom or Photoshop to adjust exposure, contrast, colors, and sharpness. Experiment with filters, presets, and effects to create a unique editing style that reflects your personal taste. Remember to keep your edits subtle and natural-looking to maintain the authenticity of the dish.
Tips for Food Styling
Food styling is an art form that involves arranging and presenting food in a visually appealing way. Here are some tips for mastering the art of food styling:
1. Use fresh ingredients: Fresh, high-quality ingredients will make your dish look more appetizing and photogenic.
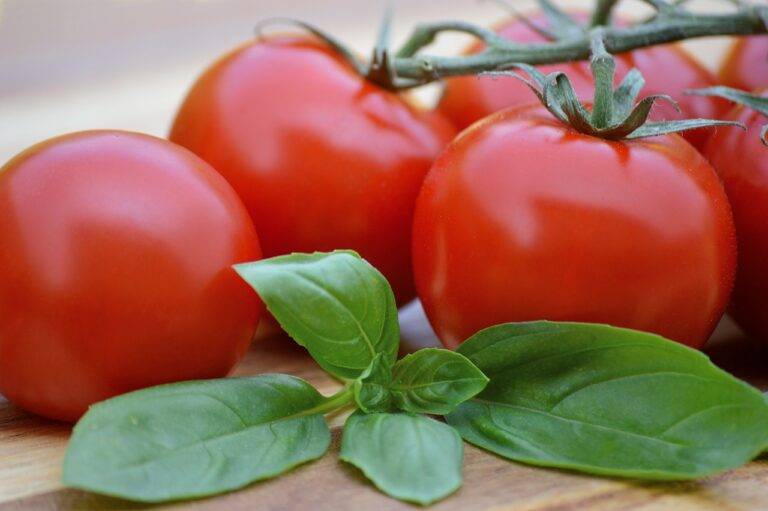
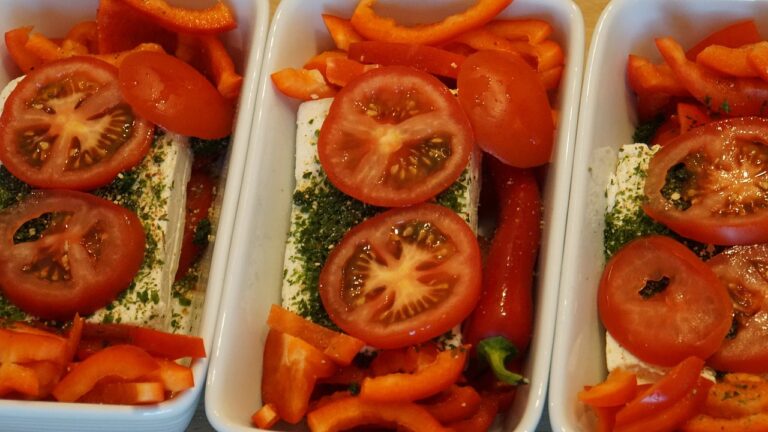
2. Garnish strategically: Garnishes like herbs, spices, sauces, or edible flowers can add color, texture, and flavor to your dish.
3. Consider the plate or dish: Choose plates or dishes that complement the colors and textures of your food, and avoid distracting patterns or designs.
4. Play with textures: Experiment with different textures like crispy, crunchy, smooth, or creamy to add visual interest and variety to your photos.
Frequently Asked Questions
1. What equipment do I need for food photography?
For food photography, you’ll need a camera (DSLR or mirrorless), a lens (preferably a prime lens with a wide aperture), a tripod, lighting sources (natural or artificial), and basic editing software.
2. How can I improve my food photography skills?
Practice regularly, experiment with different techniques and styles, study food photography blogs and tutorials, seek feedback from peers or mentors, and keep up with current trends in the industry.
3. Should I use a macro lens for food photography?
A macro lens can be a great choice for capturing intricate details and textures in close-up shots of food. However, a standard prime lens with a wide aperture can also produce stunning results.
4. How can I make my food photos stand out on social media?
To make your food photos stand out on social media, focus on creating visually appealing images, engaging captions, and consistent branding. Use hashtags, tag relevant accounts, and interact with your audience to increase visibility and engagement.
5. Are there any specific tips for photographing desserts or baked goods?
When photographing desserts or baked goods, pay attention to the color, texture, and shine of the food. Use backlighting to create a soft, glowing effect, and experiment with different angles and compositions to highlight the details and layers of the dessert.
By following these tips and techniques, you can elevate your food photography skills and create stunning images that showcase the beauty and deliciousness of your culinary creations. Remember to practice, experiment, and have fun with your photography to develop your unique style and create photos that truly stand out.

